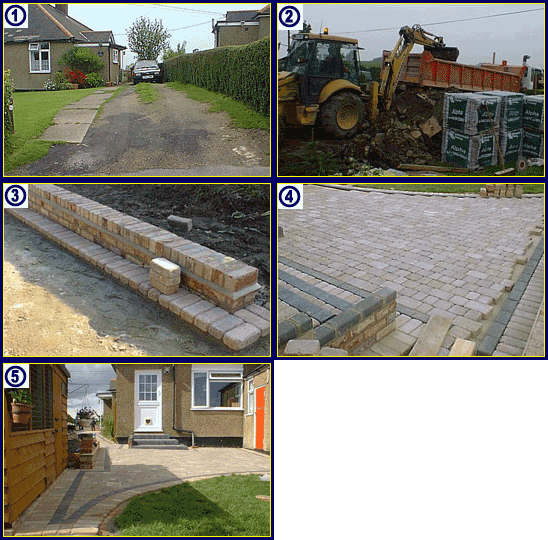
Hopefully this section will help you understand how we go about changing your driveway or patio, from day one, through to finishing touches, and sweeping up. Below this first example you will see two more process clippings, flicking through the 5 process stages. (These pictures may take a while to download - depending on your connection speed). |
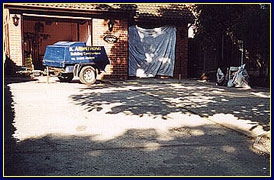
| The first stage in our process is to mark out the area to be paved. Once we agree and are both happy with what's to be done, we will begin working. |
 |
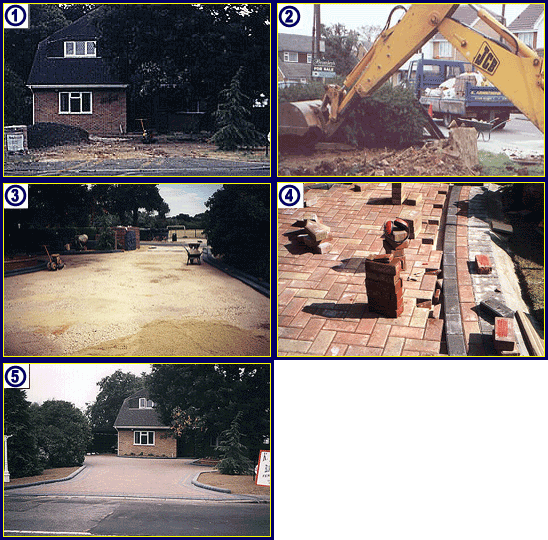
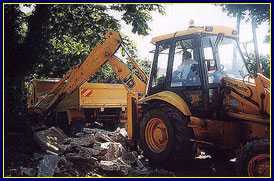
| Your existing driveway or patio will be lifted by a digger and taken away by the lorry load. The digger will remove all waste, making sure that the finished levels for the new paved area are correct for drainage purposes. The lorry and digger are then used to deliver and spread an MOT type 1 stone base. This base is compressed by a vibrating wacker plate, ready for a frame of edges to mark out the job. |
 |
|||
| All edges are laid and backed up by a firm concrete mix. These will indicate a finished height and act as a rigid support or restraint for the inner blocks. |
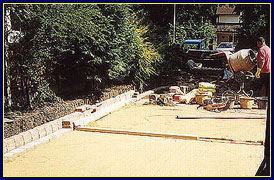 |
|
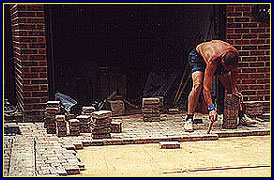
Blocks are now laid on a compressed layer of sand. To ensure an even distribution of colour, we make sure to use blocks from different packs during the laying process. At this stage you'll be surprised at how quickly your driveway or patio will take shape. Blocks are then cut to fit and are tapped in around the edges. You can read more about our rare cutting technique on our finishing touches page. |
 |
|
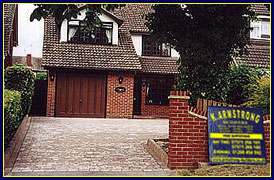
Once a section is laid and cut in, we clear and sweep the surface thoroughly. Then a layer of fine jointing sand is spread over the entire area. This is followed by a soft bottom pounding wacker plate. The excess sand is swept off and you have a new patio or driveway to be proud of. |
 |
|
||||||||||||||||
